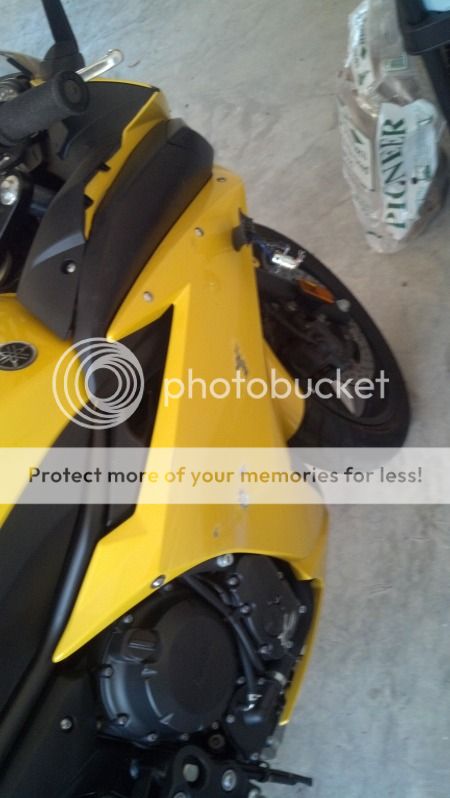
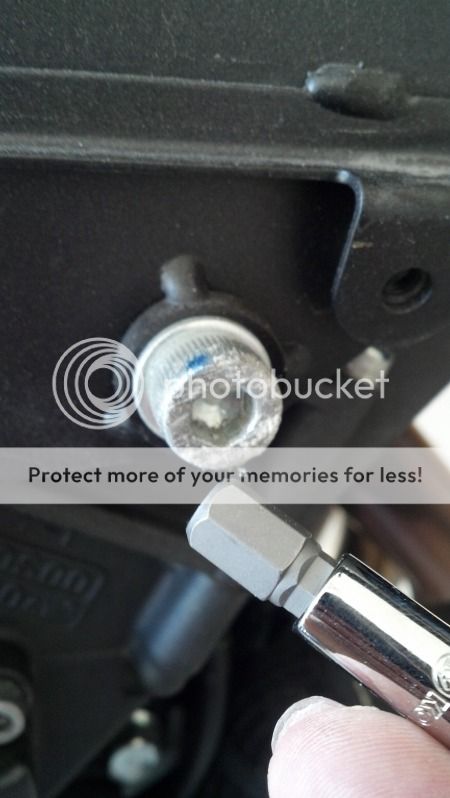
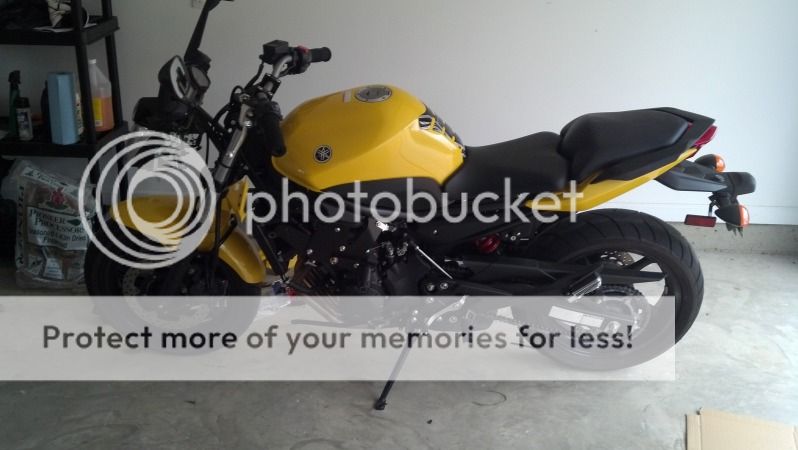
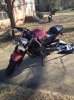
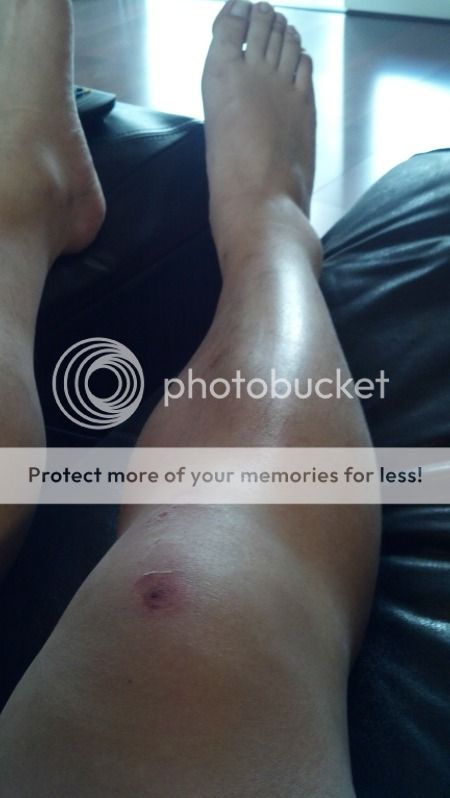
Well, I guess it was going to happen, but didn't think I'd do it so early. With bruised ego and bruised knee (and shin and ankle), I started work this weekend to strip off the fairings, fix what I could and install some more protective parts (sliders) for the next go round.
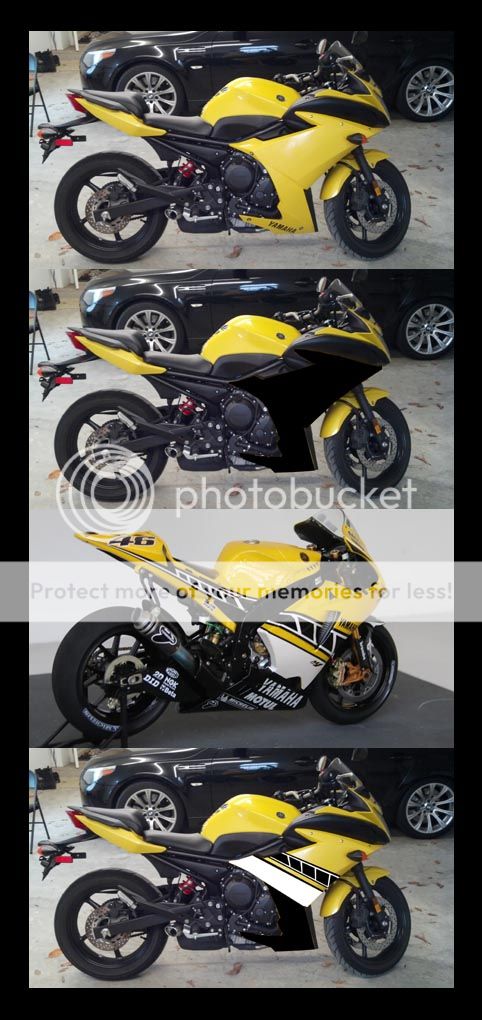
I had debated ad nauseam about holding out for replacement fairings, doing some of my own paintjobs and throughout the dissection, my bike started to look...well...better!
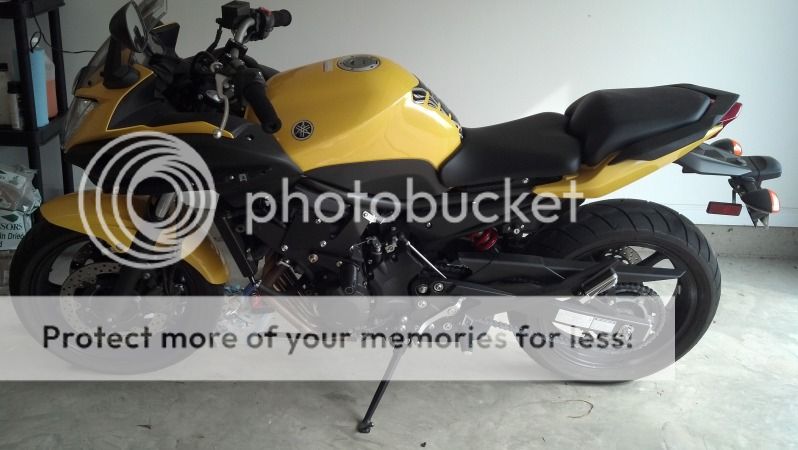
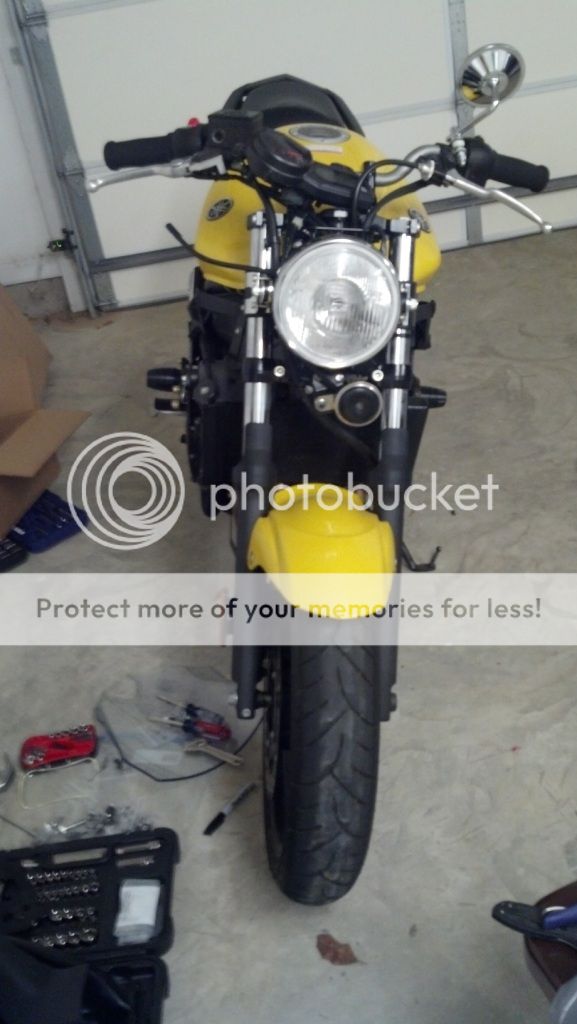
Here I am with all the plastic stripped off and looking for the next step. Cheers.
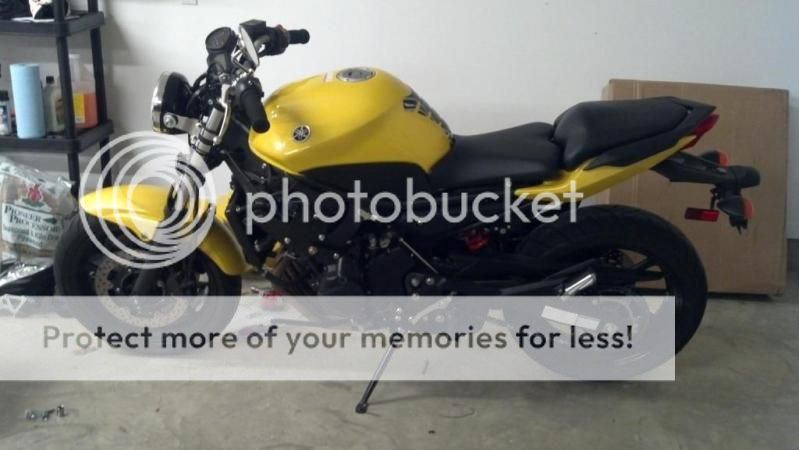
I had debated ad nauseam about holding out for replacement fairings, doing some of my own paintjobs and throughout the dissection, my bike started to look...well...better!
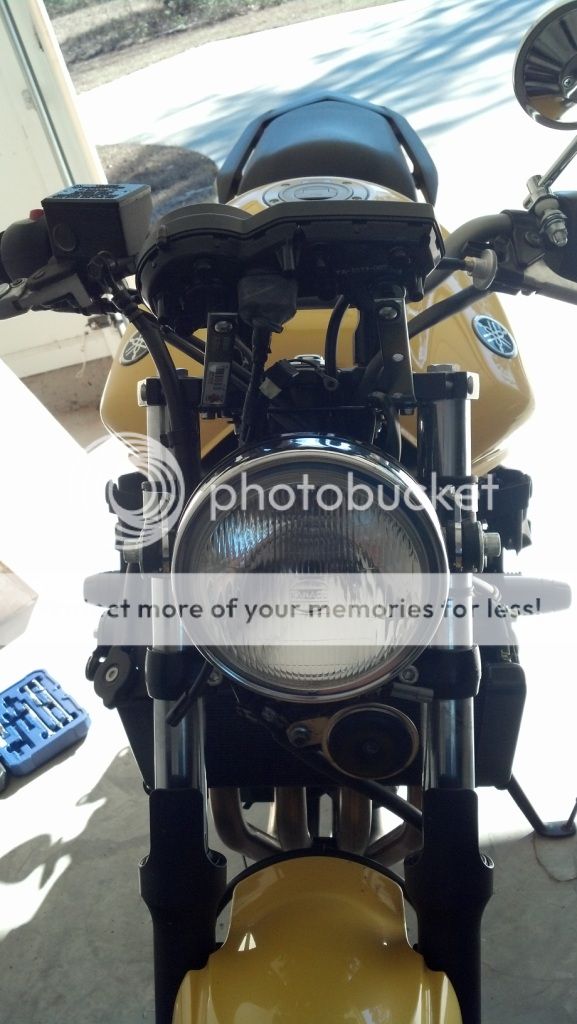
Here I am with all the plastic stripped off and looking for the next step. Cheers.
")