
WORK IN PROGRESS...IF I MISSED SOMETHING LET ME KNOW AND ILL FIX IT
http://www.theretrofitsource.com/
talk with Nate
WARNINIG: AS YOU KNOW THIS IS A CUSTOM JOB...I AM NOT RESPONSIBLE FOR ANY DAMAGE YOU CAUSE TO YOUR BIKE IN THE PROCESS OF INSTALLING THIS KIT.
-KEEP TRACK OF YOUR SCREWS. TAKE PICTURES, LABEL THEM, WHATEVER WORKS FOR YOU.
TOOLS NEEDED:
-Hex Key/Allen Key (To Take off the fairing)
-Socket Wrench (for the seat, and headlight).
-Philips Head (4 Way Screw driver)
-Containers (for screws, trust me on this one...)
-Gloves/ alcohol swabs (So you don't get your natural oily skin on the bulb)
-Silicone adhesive (to reseal minor pin holes in the existing seal)
-Compressed air (optional-used to clean parts after filing
-Spray Paint (optional-color of your choice)
-Dremel/File (may need to file down the projector wings to seat it down into the shroud)
-Motorcycle cover/blanket (To put fairings on to prevent scratchs)
-Beer will be a must for those who don't have PATIENCE
(PIC HERE OF TOOLS)
STEP 1: FAIRING REMOVAL
Take off this lower cowling at the bottom of the front of the bike
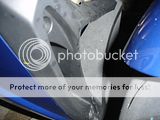
It's held on by 4 screws that need a hex key to take off. After you have the screws off, take off the plastic piece.
------------------------------------------------------------------------
(You can start working on either side of the bike, I'll just post this side first and later on I'll post the other side. Also refer to the Owner's Manual if you are unsure about how to take off the fairing)
Start taking off the screws of the fairing on the left hand side, make sure you work on one side at a time so you don't mess up the screws or lose parts.
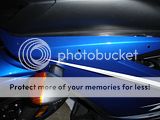
There are 3 screws on top, another two on the bottom. Remove these and put them into the container or i put them back into the threads
Once removed you can unclip the turn signal wire clips and set the fairing on you blanket.
Looks like this:
STEP 2: AIR INTAKE/DASH/MIRROR REMOVAL
Remove your wind screen (6 screws total and set aside)
After you take off the sides, you now want to start working on the dash. Take off the dash side plastics:
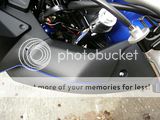
This is taken off by a hex key bolt and a plastic quick screw, then slide the plastic off.
The dash is next, held on by the same thing. A quick screw and a hex key bolt:
After that, slide the dash out and over the gauges and set it aside.
The mirrors are easy to remove, as they're only held on by 2 nuts for each mirror. Unscrew these and the mirror will come right out, I used my socket wrench for this, just have to move the handlebars to get some room.
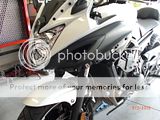
Next remove the 4 screws on each side holding the side intake tubes off-slide forward and set aside.
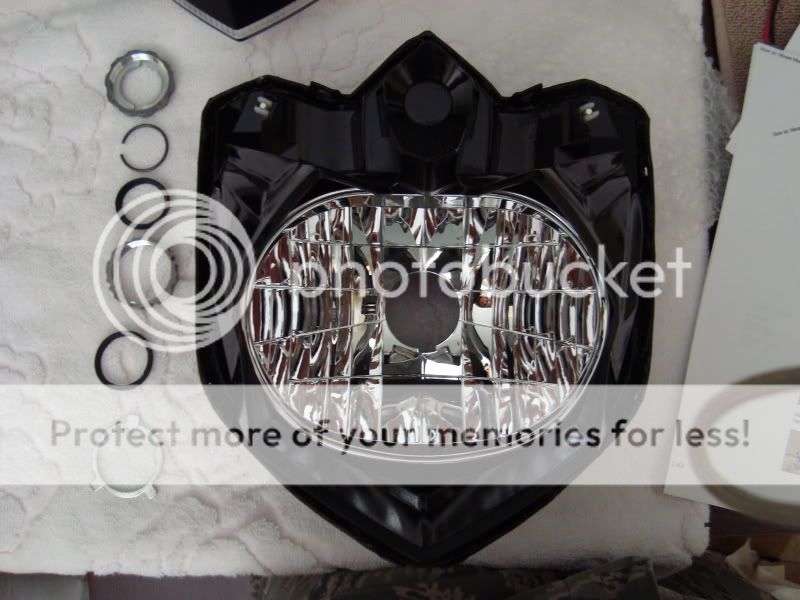
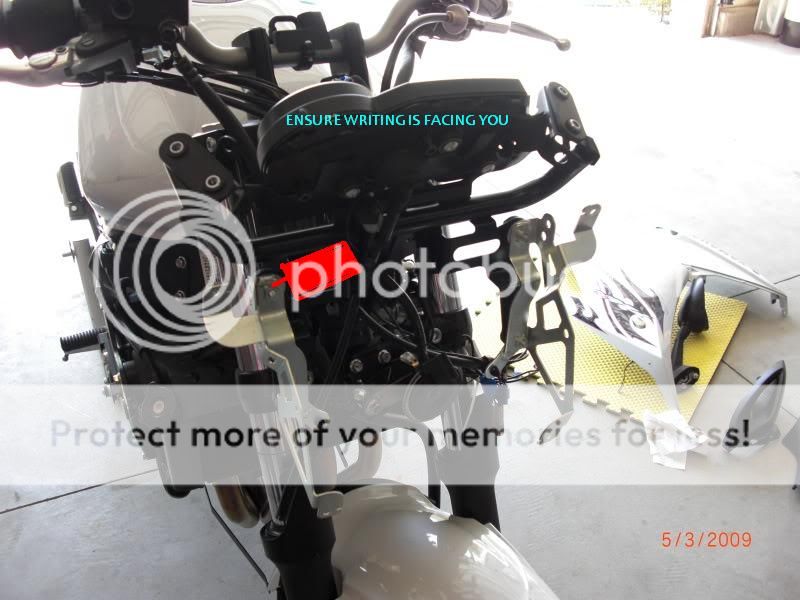
STEP 3: FRONT HEADLIGHT ASSEMBLY REMOVAL
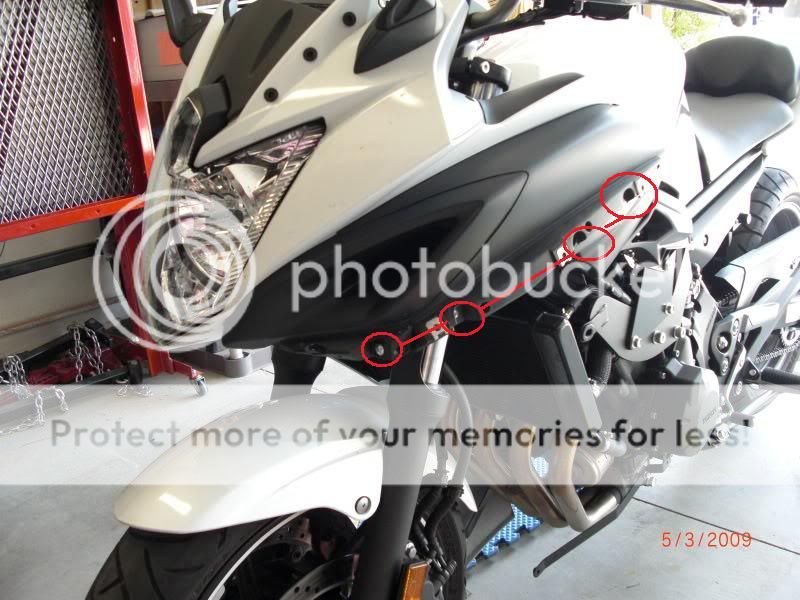
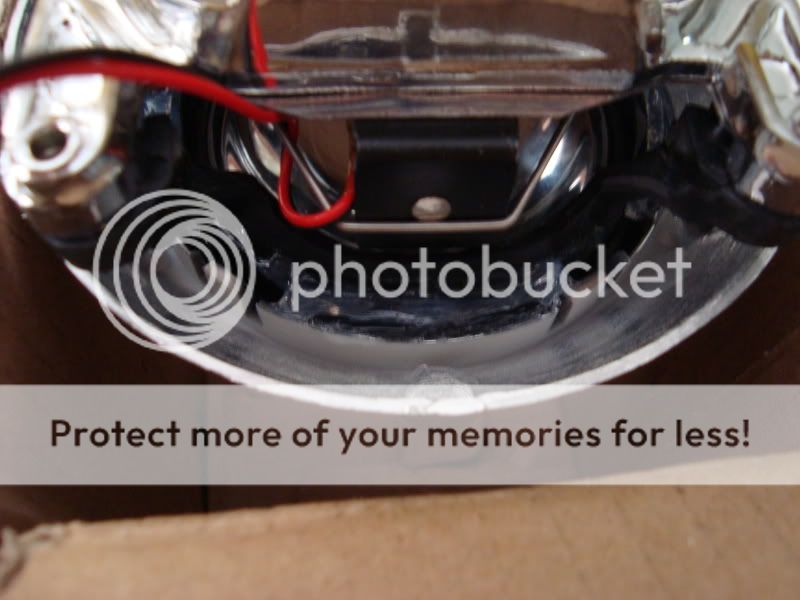
Once you have all the ram intakes off and the dash, look down towards the front of the bike (You will see two screws and two bolt) Remove these on both sides
4 Screws 4 bolts(headlight)
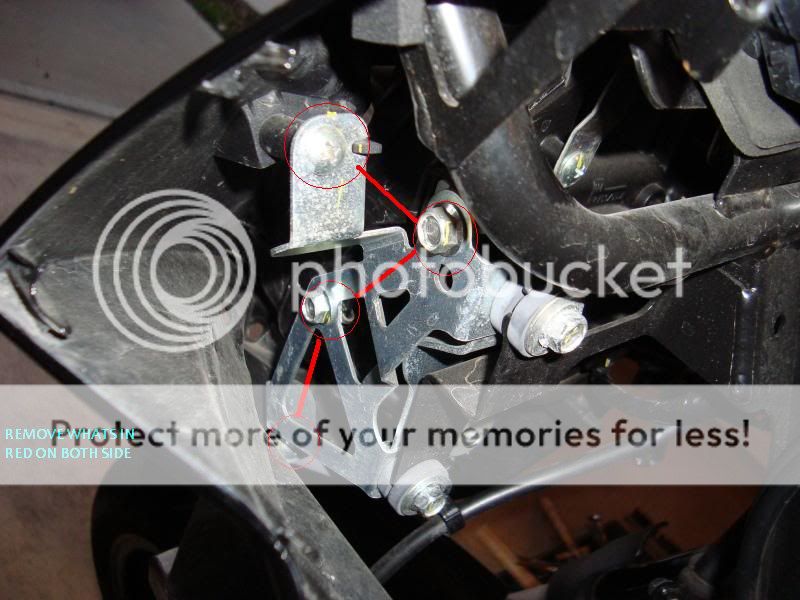
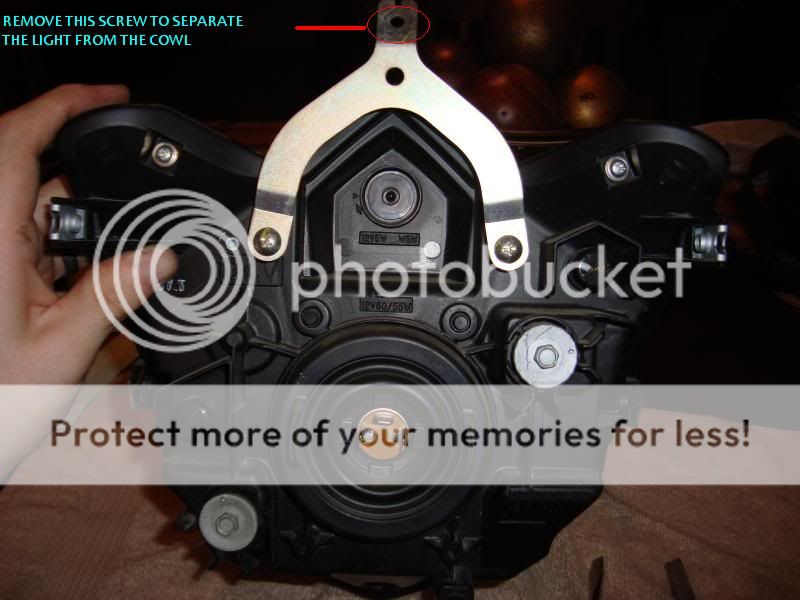
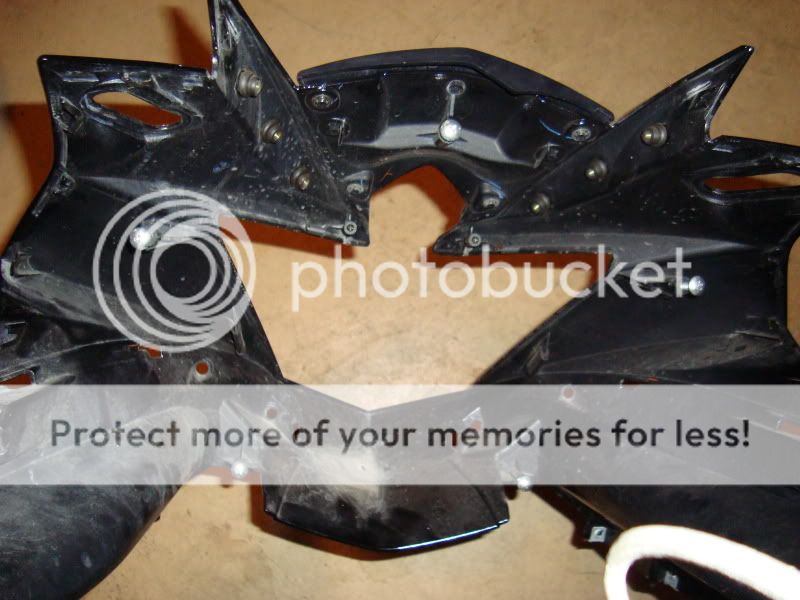
Pull the front off the bike and you will see ONE last screw at the top holding the wish bone to the font cowl
Picture showing 5 screws on the inside of the cowl
http://www.theretrofitsource.com/
talk with Nate
WARNINIG: AS YOU KNOW THIS IS A CUSTOM JOB...I AM NOT RESPONSIBLE FOR ANY DAMAGE YOU CAUSE TO YOUR BIKE IN THE PROCESS OF INSTALLING THIS KIT.
-KEEP TRACK OF YOUR SCREWS. TAKE PICTURES, LABEL THEM, WHATEVER WORKS FOR YOU.
TOOLS NEEDED:
-Hex Key/Allen Key (To Take off the fairing)
-Socket Wrench (for the seat, and headlight).
-Philips Head (4 Way Screw driver)
-Containers (for screws, trust me on this one...)
-Gloves/ alcohol swabs (So you don't get your natural oily skin on the bulb)
-Silicone adhesive (to reseal minor pin holes in the existing seal)
-Compressed air (optional-used to clean parts after filing
-Spray Paint (optional-color of your choice)
-Dremel/File (may need to file down the projector wings to seat it down into the shroud)
-Motorcycle cover/blanket (To put fairings on to prevent scratchs)
-Beer will be a must for those who don't have PATIENCE
(PIC HERE OF TOOLS)
STEP 1: FAIRING REMOVAL
Take off this lower cowling at the bottom of the front of the bike

It's held on by 4 screws that need a hex key to take off. After you have the screws off, take off the plastic piece.
------------------------------------------------------------------------
(You can start working on either side of the bike, I'll just post this side first and later on I'll post the other side. Also refer to the Owner's Manual if you are unsure about how to take off the fairing)
Start taking off the screws of the fairing on the left hand side, make sure you work on one side at a time so you don't mess up the screws or lose parts.

There are 3 screws on top, another two on the bottom. Remove these and put them into the container or i put them back into the threads
Once removed you can unclip the turn signal wire clips and set the fairing on you blanket.
Looks like this:

STEP 2: AIR INTAKE/DASH/MIRROR REMOVAL
Remove your wind screen (6 screws total and set aside)
After you take off the sides, you now want to start working on the dash. Take off the dash side plastics:

This is taken off by a hex key bolt and a plastic quick screw, then slide the plastic off.
The dash is next, held on by the same thing. A quick screw and a hex key bolt:

After that, slide the dash out and over the gauges and set it aside.
The mirrors are easy to remove, as they're only held on by 2 nuts for each mirror. Unscrew these and the mirror will come right out, I used my socket wrench for this, just have to move the handlebars to get some room.
Next remove the 4 screws on each side holding the side intake tubes off-slide forward and set aside.
STEP 3: FRONT HEADLIGHT ASSEMBLY REMOVAL
Once you have all the ram intakes off and the dash, look down towards the front of the bike (You will see two screws and two bolt) Remove these on both sides
4 Screws 4 bolts(headlight)
Pull the front off the bike and you will see ONE last screw at the top holding the wish bone to the font cowl
Picture showing 5 screws on the inside of the cowl
Last edited:

")